
In 2011 I purchased an Lenovo x120e netbook, which I used for couch internet, travel, and periodically logging GPS data from my lawn tractor.
Powered by an 1.6 ghz AMD E-350, with 4 gigabytes (and later upgraded 8) of DDR-3 ram (sadly on single channel), and a 7200 RPM hard drive, RealTek RTL8192 (or maybe 8188) 802.11n 1x1 2.4 ghz nic. It was both faster than the T42 I replaced it with and slower than contemporary full laptops (it was about 1/5th the speed of an 2011 i7 Macbook pro). Over time I replaced the battery, upgraded from Windows 7 to Windows 10, spilled a few beers on it, replaced the cooling fan, and switched to Ubuntu. It was perfectly adequate for the 2011 internet and the Radeon 6350 graphics made H.264 video and indy games great, but by 2016 it was feeling sorely underpowered, and in mid 2019 the battery was kaput, the cooling fan was buzzy, the speakers were shot, and I avoided using it online because any Web 2.0 content was a recipe for misery.
I relegated it to a drawer and bought a cheap refurb i5 dell corporate machine that is, frankly, miles better.
 |
| The X120e, at a point in time where it was still fast enough to be useful |
I was waiting for a chance to recycle it, when I stumbled upon a LifeHacker where someone converted an old laptop into a workbench All-In-One (AIO). My x120e was in far worse conditions, but I knew the screen and motherboard worked, and I had an old SSD that would be a worthwhile upgrade to the spinning drive.
My motivations for this project were:
- I prefer a mouse and keyboard for any kind of serious computing activity
- I had stuff laying around doing nothing
- It seemed fun to try
A major challenge for the construction would be to replace the stock CPU fan with something else I had in laying around. I have a decent collection of old computer fans and a few heat sinks, so I had high hopes to make something work.
I carefully took the laptop completely apart, as it would not be possible to mount an alternative cooling system in the chassis. I then tried different combinations of heat sinks and fans with different orientations of the motherboard behind the display. This computer runs just fine without a battery, and 9 cell battery with a 30 second run time is comically useless. so I wrapped the battery terminal on the motherboard with electrical tape, secured with a dab of hot glue, and set aside the battery for recycling.
The good news was that the display cable was long enough to support the motherboard being oriented with the cpu facing either towards the display or towards the back of the computer. However, I found it challenging to mount any of the heat sinks I had: they were all huge and the motherboard mounting brackets were not well placed.
 | |
| CPU overwhelmed by a big heat sink. Note that it is touching the components. |

I tried to shim the CPU with piece of polished aluminum to lift the heat sink off, but it didn't solve the mounting problem.

I ultimately decided to try a low effort solution. The e350 is rated at a mere 35w TDP, which seemed like overkill for even smallest desktop CPU heat sink I had. so I though that instead of trying to replace the whole heat sink, I could maybe just put a fan directly on the stock heat pipe and heat sink and treat the whole assembly as a heat sink.
 |
| The stock heat sink and cooler, with worn out fan attached. |

I soldered the JST connector from the original cooling fan to a 120mm fan I had in the parts pile. While the 120mm fan is designed to work at 12V, it spins well at 5V and pulls less current than the stock fan. I elected to mount it so it blows outwards to the back of the case.
I made enclosure out of twin-wall polycarbonate (i.e. correlated plastic). I had a bunch from a prior project, and it is extremely easy to cut with a knife and hot glue sticks to it well.
I mocked up how I wanted to mount everything, then started cutting and gluing pieces of twin-wall. The fan was offset off the back of the display with shims.


Tabs with slots were used as legs to hold the motherboard to the back of the display. This way the fan has maximum coverage of the heat sink.

The original drive tray was kept as a drive support, and wings were attached to support the sides of the case. A baffle was also added to help keep the fan from recirculating warm.

Another problem that removing the motherboard from the laptop presented was how to turn on and off the computer. The power button was molded into the base of the laptop, and the connector was a ribbon cable. I tried using the power button PCB, but the button alone felt fragile.

Instead, i cut the power button from the enclosure and glued it to the front of the display with a rear twin-wall support to keep it from snapping when pressed.


The power symbol is upside down, but it works.
Before putting the back on, I made sure to anchor all the wires (often foil shielded) with dabs of hot glue and electrical tape to keep them from getting free and either shorting out and causing trouble.
A quick test showed a happy computer with an external mouse and keyboard.

I added some holes to the back and bottom of the case, and a couple of flaps held together with duct tape for hard drive and VGA access.

I decided to return the machine to Windows 10, as it has the best driver support for the graphics card, with it's AMD VCE 3 h.264 decoder, and I wanted to have a decent experience watching videos in the workshop. As I had updated the Windows 7 installation to Windows 10 previously, microsoft recognized the machine and installation was quick and largely painless. I did download the latest drivers from AMD and Lenovo. The only snag I hit was that the Realtek RTL 8818 wireless card would not connect to our new wireless router. This wasn't surprising, as the wireless performance of the machine had always been bad (at points, we actually suspected it to be so bad that it was slowing down other machines on the network). However, no combination of RTL-8192 (or 8188) drivers or settings I tried would yield it detecting our 802.11AX router. From what I read, Realtek never got a working driver set for it. I eventually bought the bargain TP-Link T2u-plus recommended by wirecutter, which thankfully did work out of the box, though it worked a lot better with the TP-Link Drivers vs the stock drivers from Windows Update. That brought the total cost of the project to something like $17.

In order to get decent video playback performance, I installed chrome with the h264ify plugin.
To hold the machine upright, I used an old cookbook holder that was gathering dust.

 |
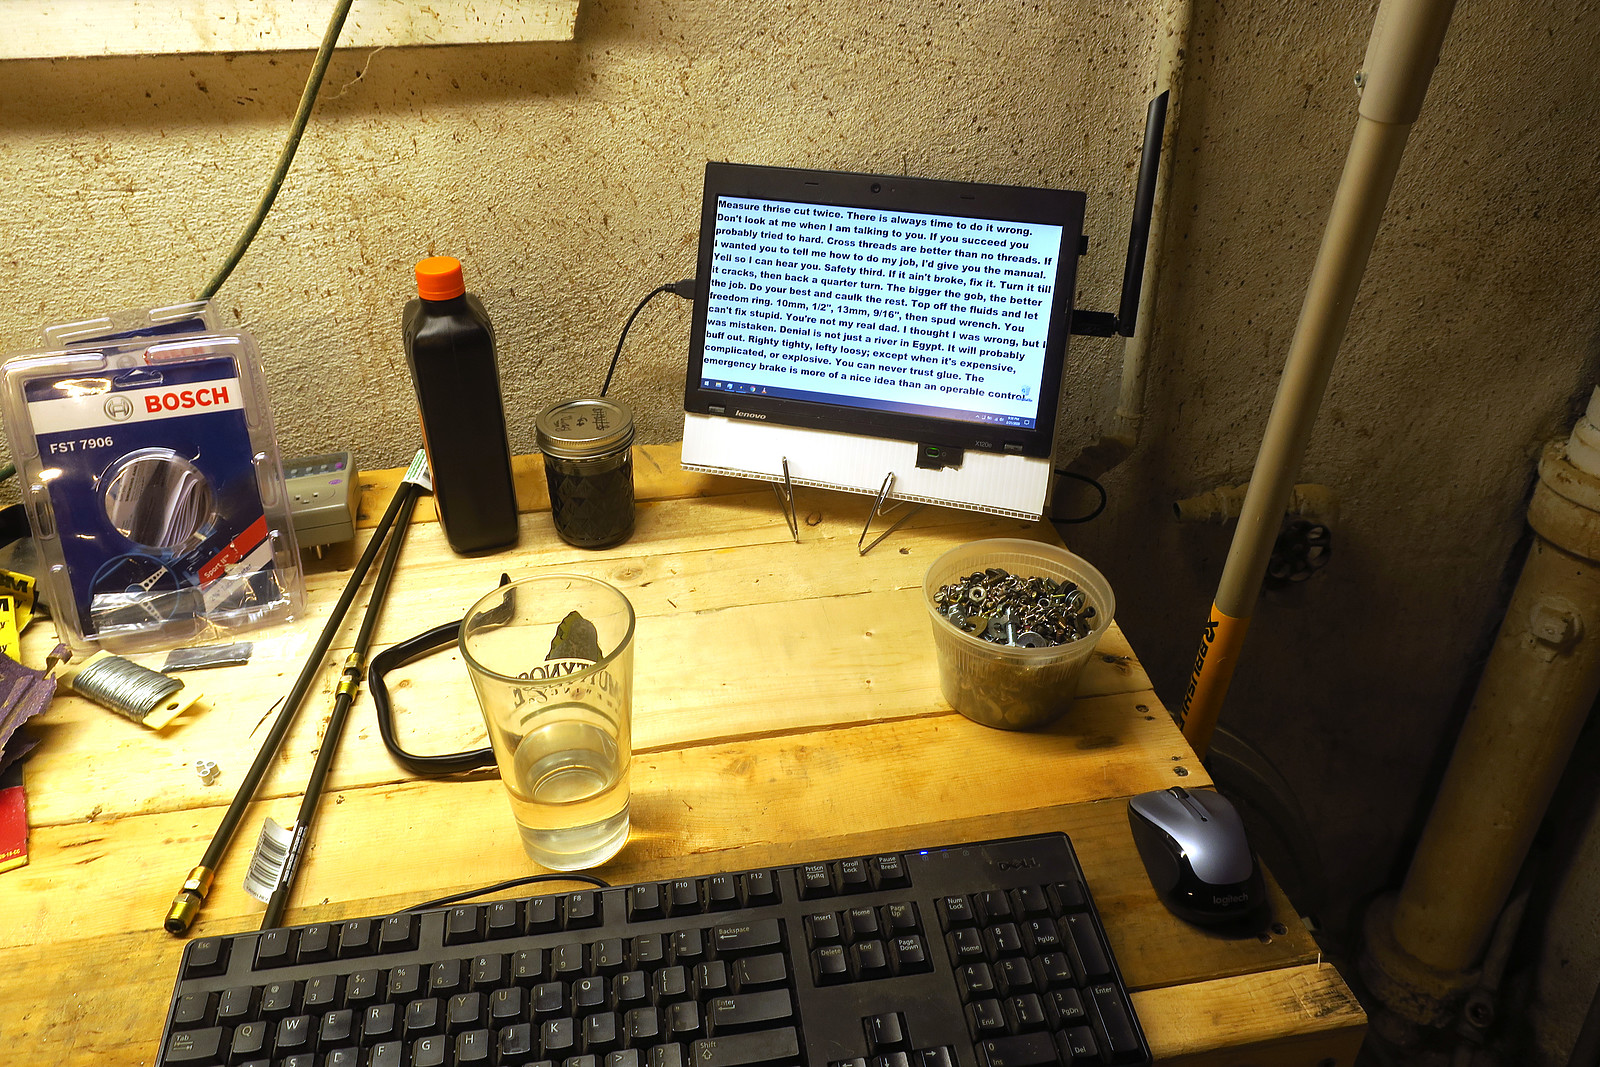
| Behold, the workshop computer. |
If I ever take the box apart (the irony of going full apple and building a PC with glue not screws is not lost on me), I'd take another crack at the cooling solution: I realized that the original copper cooler could be soldered or brazed to a larger piece of copper or aluminum, thus solving the mounting and size problems I encountered trying to attach desktop style heat sinks.
My major complaint was that I didn't not find a way to build speakers into the machine. I'll have to attach something externally via the 3.5" jack.
Also, I was surprised by the time it took to build the box: it took almost a full day to dissasemble the laptop, figure out how to orient all the parts (screen, motherboard, power button, USB, power, and vga ports, then somewhat carefully measure, cut, and hot glue twin-wall pieces until the unit not longer looked and felt like a cereal box full of wires and circuit boards. I certainly would NOT recommend buying an old computer for this: just get a raspberry pi or used PC if you are starting from nothing.
No comments:
Post a Comment
Leave a message after the tone...